
A quick guide to getting up and running with the Soan Papsi FPGA board.
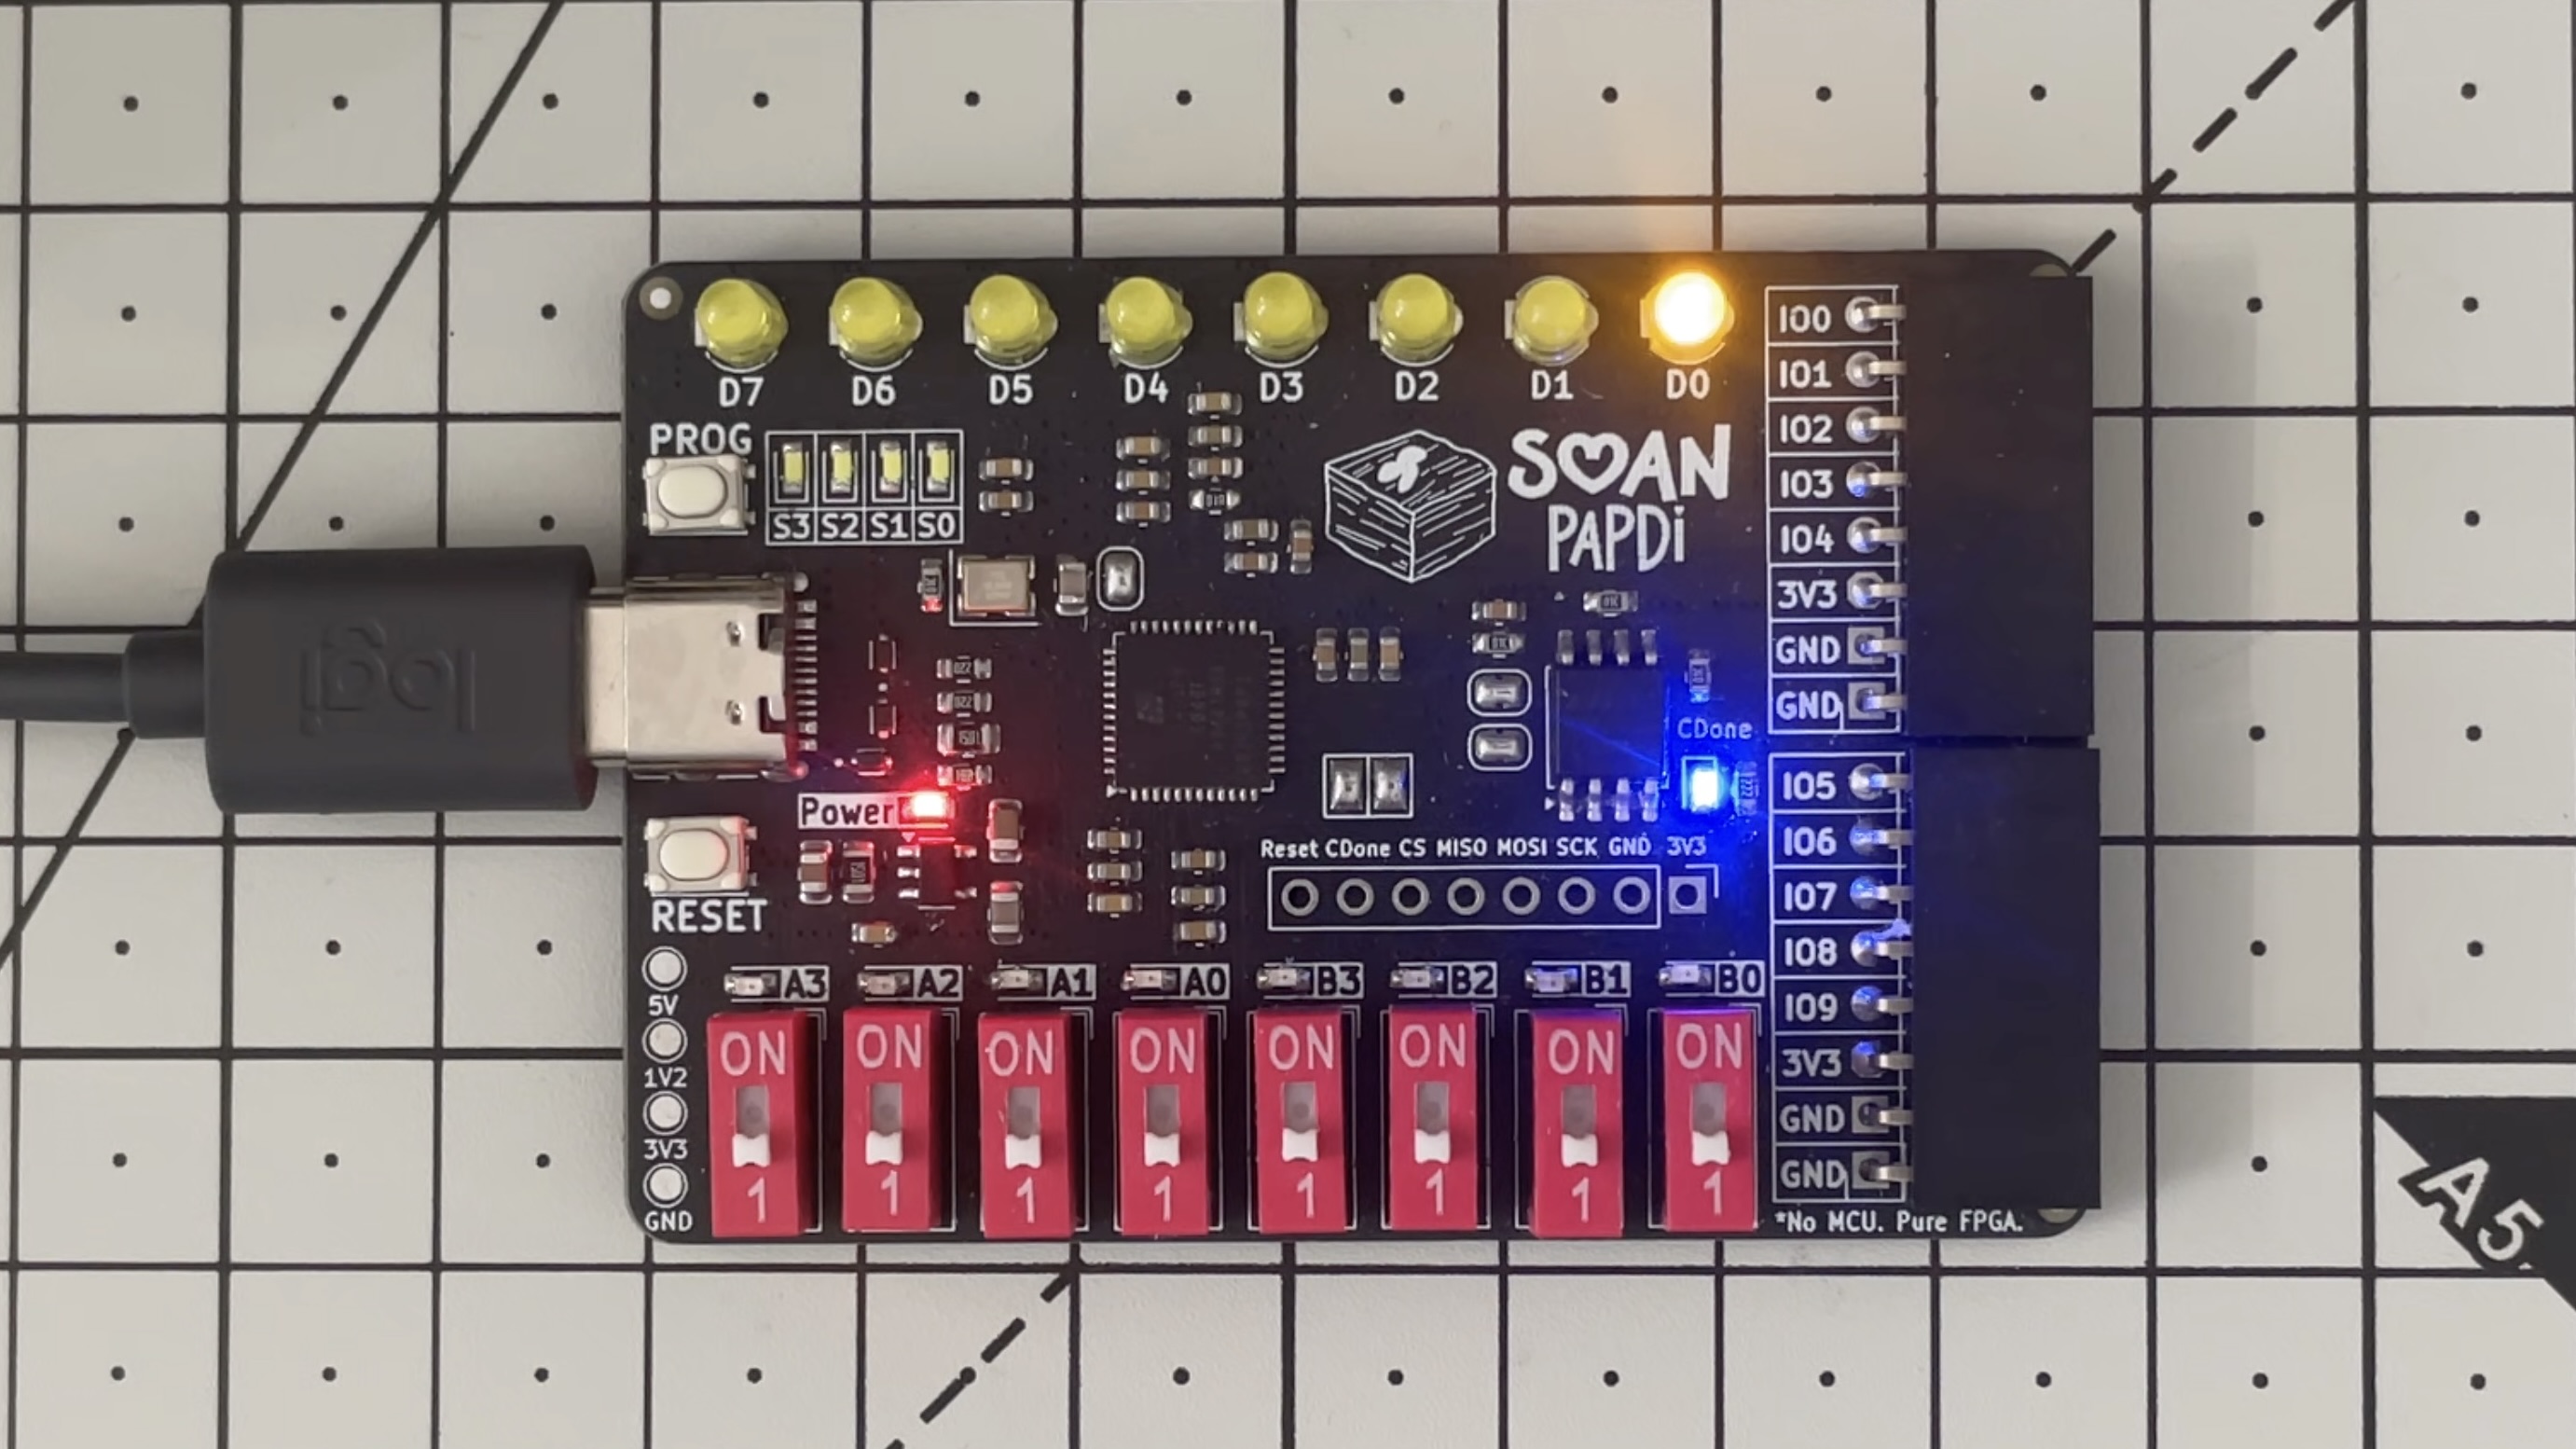
Unboxing and Board Walkthrough
Soan Papdi - Software Setup
The official version of iCEstudio doesn’t have the support for Soan Papdi just yet. We thus have to build everything from source until the changes have landed in the official release.
As a summary, we are to do the following:
- Patch the
iCEStudiorepo. - Patch the
apiopython package which is responsible for building the RTL and uploading to the board.
Assumption:
- You have
nodejsinstalled. - You can navigate nonde issues on your own by google searching.
Setting up iCEStudio
- Clone the repo
1git clone https://github.com/streetdogg/icestudio.git - This should get you the source code. We are to work on the soanpapdi branch of this repo. I have already added the changes there.
1git switch soanpapdi - You need to have node installed.
- Assuming node is available on your system. Execute the following commands from within the repository’s root.This should install the dependencies and also start
iCEStudio - It may ask to select a board, pick
Soan-Papdi. - If asked about toolchain installation, click the popup to fetch and install the toolchain. In this case -
apio. - If asked about installing drivers, choose to install it. Click on the popup.
- Open an example:
File–> Examples–> Basic–> 6. .... This a simple switch to LED connection. - If it complains about board. Override and proceed anyways.
- Select the board again,
Select —> Board —> Soan-Papdi. - For the Pushbutton, select A0 from the drop down. And, D0 for the LED.
- From the status bar in the bottom. On the left, the gear icon is to compile and download icon is to upload the bit stream to the board.
- Press the gear icon to compile. It should complain -
Unknown Board.
Patching APIO
The toolchain is unaware of the board we are using - Soan-Papdi. We now need to find the location of this python package and update the boards.json with programming information about our board.
- After the error in #13 about, check the command output:
View —> Command Ouput. - This should open a console window with the output messages resulted as a result of
#13. Should look something like so -1 2 3 4 5 6 7 8 9… Fusion.app/Contents/Public:/Applications/iTerm.app/Contents/Resources/utilities" "/Users/piyush/.icestudio/venv/bin/apio" build --board Soan-Papdi --top-module main -p "/Users/piyush/workspace/soanpapdi/icestudio/app/resources/collection/examples/1. Basic/ice-build/06. Pushbutton and LED" Info: No apio.ini file Error: unknown board: Soan-Papdi - The toolchain is install in Python virtual environment, from the logs above, the following provides the hint to the path -
/Users/piyush/.icestudio/venv/ - The
boards.jsonhappens to be saved at -/Users/piyush/.icestudio/venv/lib/python3.13/site-packages/apio/resources/boards.json. The location of this file might vary slightly based on the python version you have installed. - Add the following to the file:
- Save and close the file.
apioshould not complain.
Generating and uploading the bitstream
- We are all set with iCEStudio and apio.
- Attempt generating the bitstream by pressing the gear icon in the status bar (#13 from above).
- This should be a success.
Uploading Bitstream to the board
- Prepare the board by changing it to programming mode.
- Press the
PROGbutton. Hold it. - Press and release
RESETbutton. - White
LEDshould glow. - Realse the
PROGbutton after the whiteLEDis turned off. - The board is in programming mode and ready to access the bitstream.
- Press the
- Upload the bitstream
- Click the Download icon in the status bar.
- Wait for the upload to complete.
- Once the bitstream is uploaded, Press and Release the
RESETbutton to change the FPGA mode. The uploaded bitstream should be active.
end.
