
Aarch64 (102)
Baremetal Programming and Debugging.
Get a deeper insight into the ARM 64 Bit CPUs by booting and programming the aarch64 based Cortex-A72 on the Raspberry-Pi4B - from scratch!
You will code both in Assembly and C to get the CPU to print ‘Hello, World!’ on the UART. There will be no IDE used. Everything right from the Linker script to the Makefile for the automation will be written from scratch.
Assumes no prior knowledge. Recommended for anyone wanting to understand how a application grade CPU boots from scratch.
Bestseller
Beginner
Intermediate
Advance
Last Updated: 7 Mar 2026|
English|
365 day Access.
Includes
~4 hours 30 mins of recorded lectures.
24 Lessons.
Hardware based experiments.
2 downloadable resource.
Certificate on completion.
Notes/Cheat-sheet.
Case studies based on open-source code.
1 Project implementation.
What you will learn
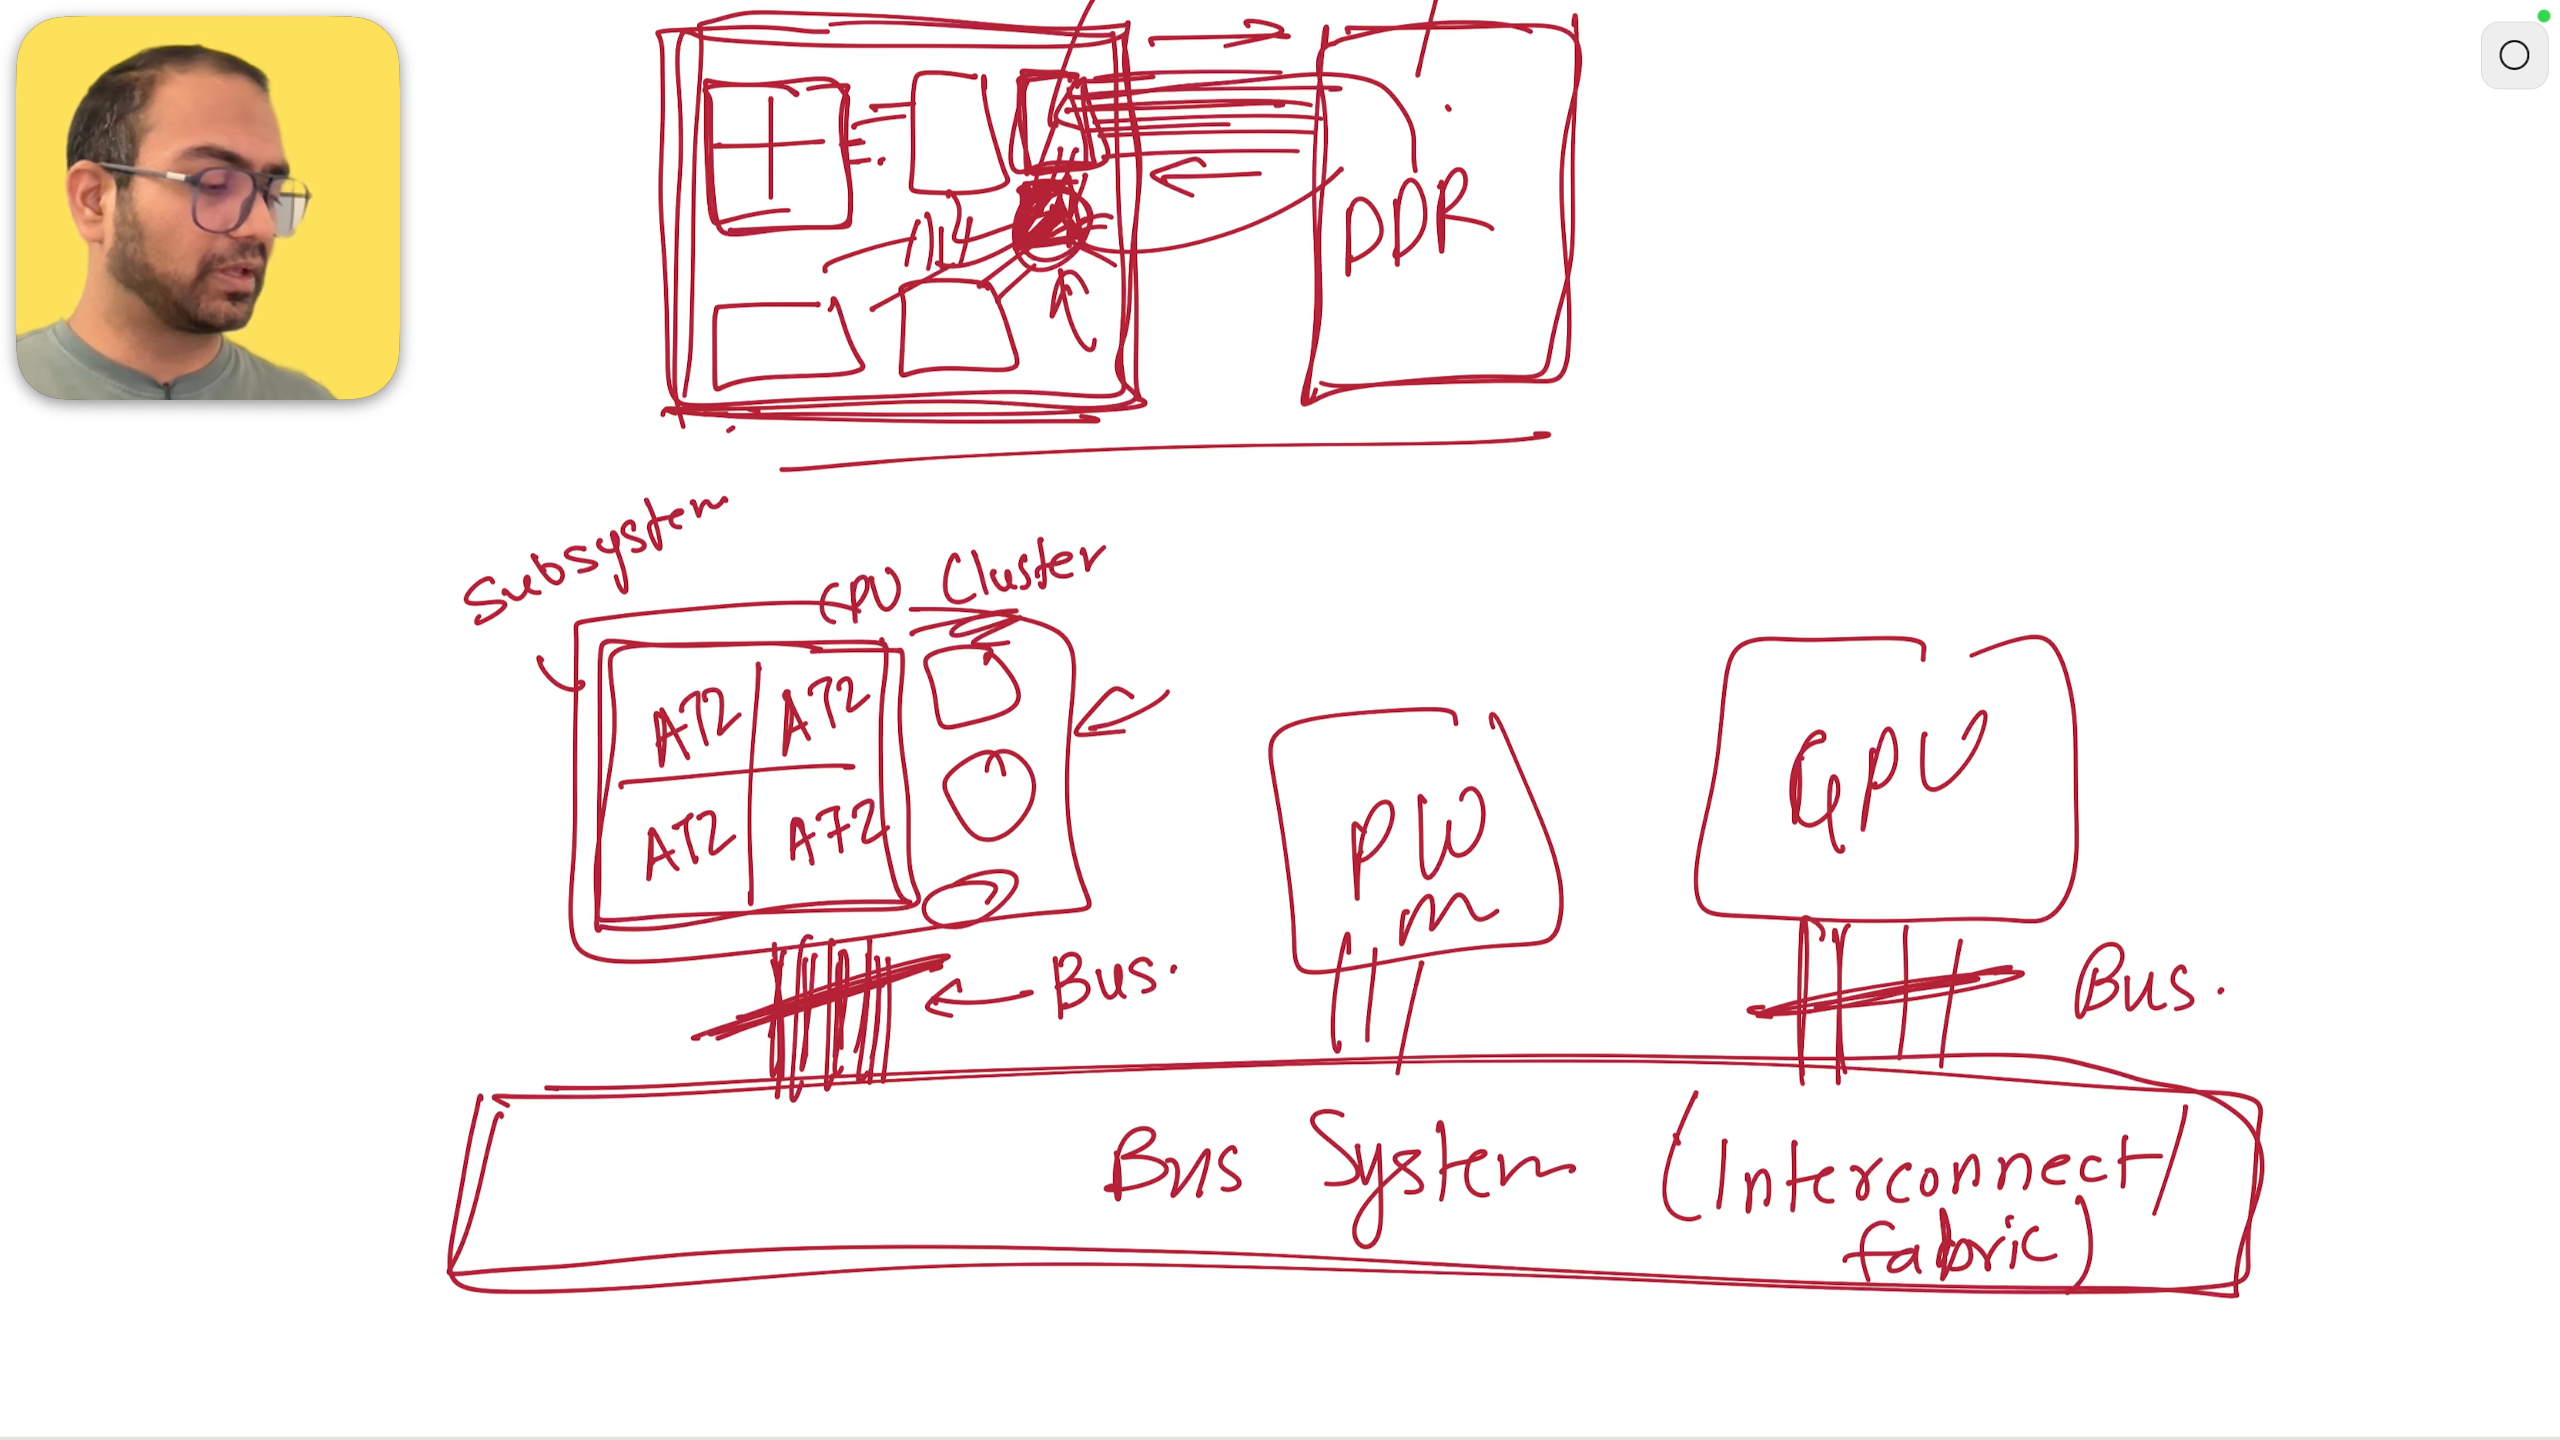
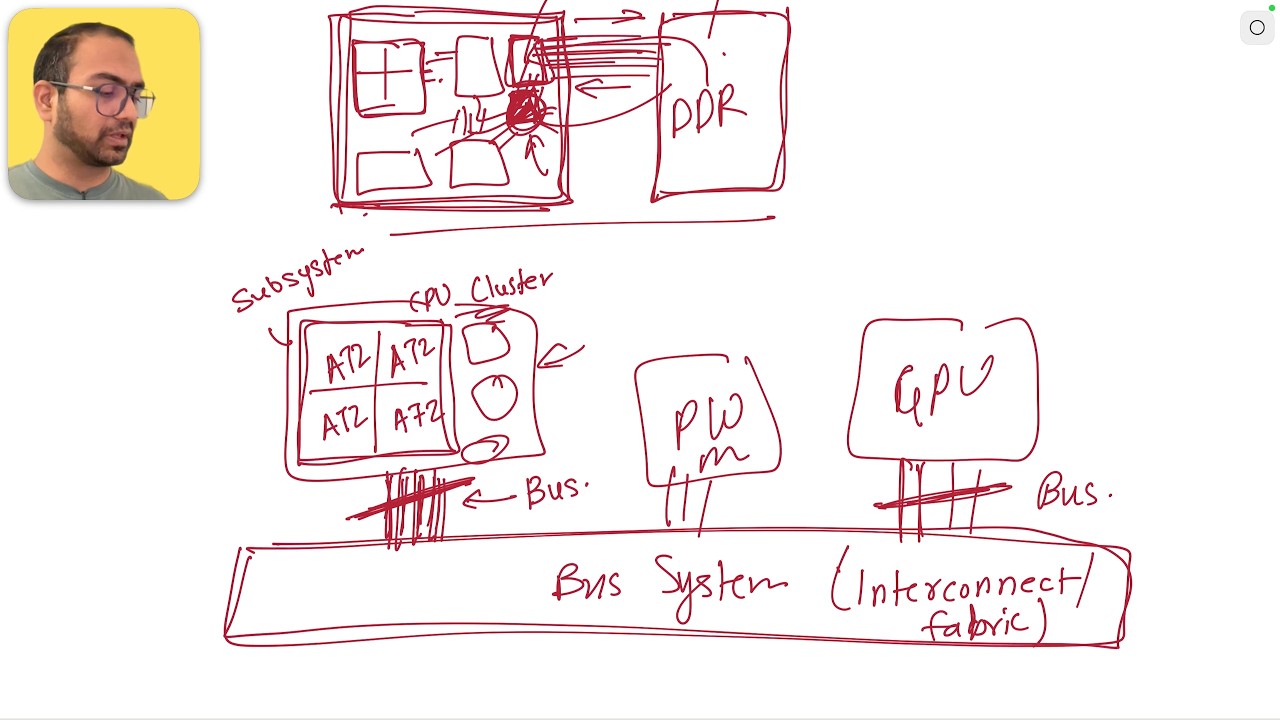
Understand the architecture of a System on Chip (SoC).
Understand the specific multi-stage boot sequence of the Raspberry Pi.
Learn to prepare SD cards, explore OS contents.
Identify essential system files required for booting.
Interface Raspberry Pi 4B to FT232H for JTAG and UART communication.
Install and configure professional-grade debugging tools.
Learn to use OpenOCD (built from source), GDB, and the GDB Dashboard.
Compile and run assembly programs and transition from multi-core boot sequences into C functions.
Control hardware peripherals directly by interacting with memory addresses and register configurations.
Implement a UART protocol driver to send data and print ‘Hello, World!’ to a terminal.
Verify register configurations during a failed execution.
Develop skills in hardware debugging, handle buggy documentation.
Details of Content
Introduction and Essentials
Course Introduction
Repository and documentation
Tour of Hardware Components
Operating system as development environment
System on Chip (SoC) and Boot Flow
What is System on Chip (SoC)
Getting the RaspberryPI OS and exploring the contents
The Raspberry Pi 4B Boot sequence
The Raspberry Pi 4B Boot Sequence
Files on the SDCard
Preparing the SDCard and booting RaspberryPi
RPI 4b and FT232H connection
Environment Setup for Development and Debug - OpenOCD, JTAG and GDB
The case for hardware debugging
Setting up OpenOCD from source and GDB Dashboard
OpenOCD and GDB in Action
FT232H and Raspberry PI connection for JTAG mode
Compiling first assembly program
Debugging our code with OpenOCD and GDB
UART Driver and Printing `Hello, World!`
multi-core boot and jumping to C function
memory mapped IO and controlling the hardware
Demo - Sending bytes on the UART
Uart protocol, and exploring the register configuration
Debugging the UART configuration (failed attempt)
Fixing code with buggy documentation, printing Hello World
Next Steps and conclusion
Ways to dive deeper
What sets this apart?
Bare Metal Focus - You write code directly for the hardware without an OS.
Industry Tools - Uses professional JTAG debugging instead of simple print statements.
Deep Hardware Access - Teaches direct manipulation of Memory Mapped I/O and registers.
Boot Flow Mastery - Deconstructs the complex Raspberry Pi multi-core startup sequence.
Source-Based Setup - Learn to compile OpenOCD from source for custom environments.
Documentation Reality - Teaches you to fix errors found in ‘buggy’ official datasheets.
Low-Level Assembly - Covers the transition from raw assembly to C functions.
Hardware Interfacing - Uses FT232H adapters for physical, external hardware control.
No Abstractions - You aren’t using libraries; you are building the drivers yourself.
Sample Certificate
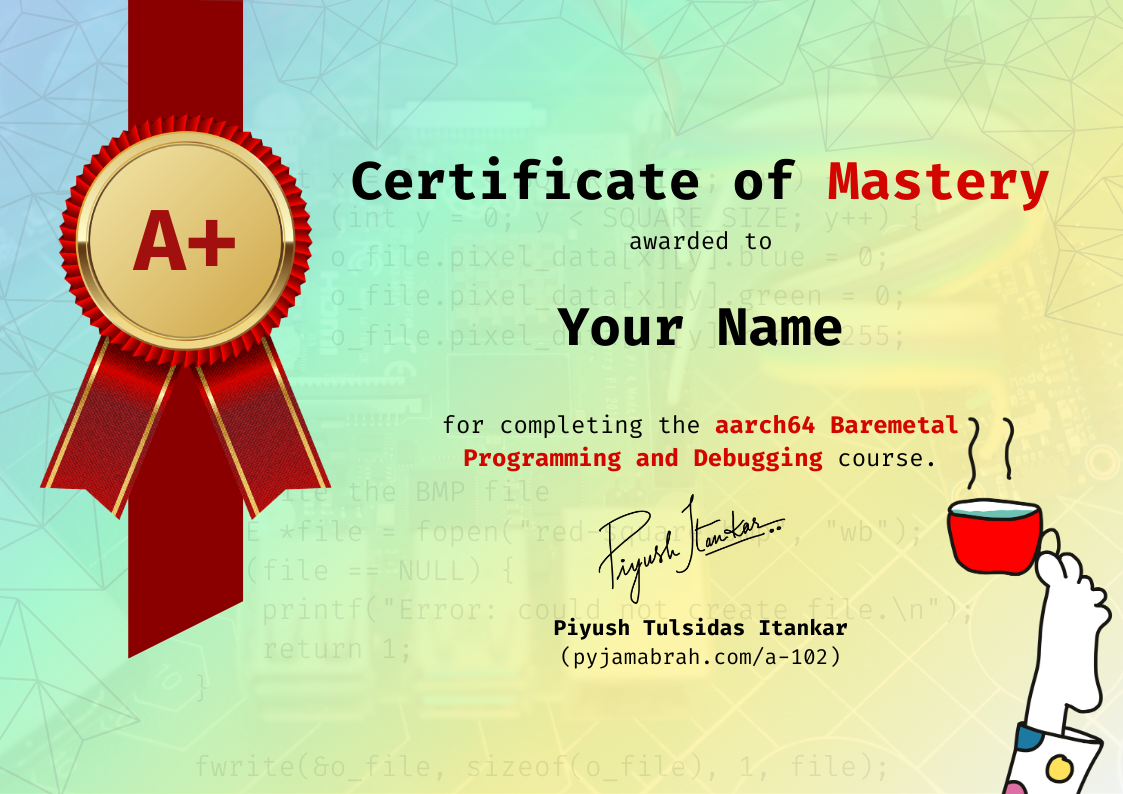
Earn a certificate for every technical track by completing 95% of the course work.
Instructors

Electrical Engineer holding a Master’s degree in Embedded Systems, with a proven track record at industry giants. At Intel, contributed expertise to Navigation Firmware, Bluetooth Driver development, and RF validation software.
Currently thriving as an Embedded Software Engineer at Google, drove innovation in Firmware development for the Power Management Sub-system on Tensor SoCs (Pixel Phones) and presently advancing system software for the Pixel Watch.
Audience
Students with interest in learning lower level programming.
Firmware and System Software Engineers looking to understand the lower level programming details of the aarch64 architeture.
Electrical/Electronics Engineers working on hardware programming.
Those curious to understand the boot sequence of an Application grade CPU and attempt booting it from scratch.
Requirements
Linux machine or Windows/Mac capable of running a Linux based Virtual machine.
Raspberry Pi 4B if you want to run all experiments hands on.
FT232H based board to be used for Serial and JTAG input/output.
A GitHub account to access the development environment.
FAQs
What is the difference between these courses (paid) and the content on YouTube?
Some lectures from different courses have been put on YouTube as Preview. The are not structured and jump to a topic. The Courses in the Subscription are well structured and focused on developing a skill.
Is this recommended for beginners?
Yes! The courses are taught as if the learner has no idea about the subject. Each course starts of by ensuring that the basics needed to understand the followup lectures is understood.
Why a subscription model?
We are billed for the hosting and bandwidth by the platform provider. While we would very much like to offer lifetime validity, given the recurring bills, we have to ensure we continue to earn enough to be able to fund the effort and bring more value to our learners. The Monthly plan is for those who cannot afford the yearly subscription but can benefit from burst learning. To get the most out of our content, we recommend subscribing to the yearly plan.
Do I need a special machine configuration to take this course?
No! All you will need is an internet connection and the Chrome browser. The hands-on examples and lab work is based on GitHub codespaces platform. We use GitHub Codespace to ensure that you don’t struggle with the setup and focus on the learnings. You are always free to setup the environment locally. Although, we won’t support that, but you are free to do so. The courses, as much possible use a Emulator target of a real board, so if you wanted to run the code on real board. You can do so.
Why is a GitHub account needed?
The Experiments and Labs are based on the GitHub provided Codespaces virtual machine. Codespaces will enable a common work environment for all the learners and avoid the hassle of special setup.
Can I change my email-id post purchase?
As much as we’d like to support that, your account will be linked to your email-id post purchase.
What name will be printed on the Certificate?
The name you use on the platform will be printed as is on the Certificate when it is generated.
Can I follow the steps on my own PC?
Yes for the most part. Better yet would be if you have a linux machine.
I previously purchased a course from inpyjama/pyjamabrah, any discount for me?
Yes. We can offer a discount on the yearly subscription. Please reach us at support@pyjamacafe.com and be sure to include the details of your past investment. We will work on a custom discount for you.
Bestseller
Beginner
Intermediate
Advance